ArangoDB NodeJS Guide
Introduction to ArangoDB: Why You Should Consider It for Your Next Project
In the ever-changing world of backend development, choosing a database plays an important role in defining architecture and scalability of your application. Relational databases, like MySQL and PostgreSQL, dominate, but the flexibility and scalability of NoSQLs, such as MongoDB, Redis, and ArangoDB, have given them space to grow and thrive in modern applications. In this article, we will go into the depths of one such powerful NoSQL, ArangoDB, and how it should be on your list for the next project.
Why ArangoDB?
ArangoDB is a multi-model database, which means supporting multiple types of data models – document, key-value, and graph – in the same database engine. With that, it is high versatile and suitable for nearly every use case, such as content management systems, applications for real-time analytics or high-performance computing, as well as social networks and their friends.
Key characteristics of ArangoDB comprise
- Multi-Model Support: The support of document, graph, and key-value data models by ArangoDB ensures flexibility in how the data is stored and queried.
- ACID Transactions: Despite being a NoSQL database, ArangoDB supports ACID transactions, thus ensuring that there is integrity and consistency within the data.
- Scalability: It supports horizontal scaling, thus good for applications with a large amount of traffic.
- Integration with Node.js and NestJS: ArangoDB also has excellent support for JavaScript, with an official NPM library (
arangojs), making it seamless to integrate with Node.js and NestJS. Installing ArangoDB

Before getting into integration with NestJS, let’s look at how to install ArangoDB on your local machine or server.
1. Installation on macOS
If you are working on macOS, you can simply install ArangoDB by using Homebrew:
bash brew tap arangodb/arangodb brew install arangodb After installation, you can begin to run the ArangoDB server:
arangod
- Linux Installation
For Linux-based distributions, you can use the following commands to install ArangoDB.
For Ubuntu
wget https://download.arangodb.com/arangodb39/DEB/amd64/arangodb3_3.9.0_all.deb
sudo dpkg -i arangodb3_3.9.0_all.deb
Start ArangoDB
sudo service arangodb3 start
- Docker Installation
If you prefer using Docker, you can run ArangoDB with the following command
docker run -e ARANGO_ROOT_PASSWORD=mysecretpassword -d -p 8529:8529 arangodb/arangodb
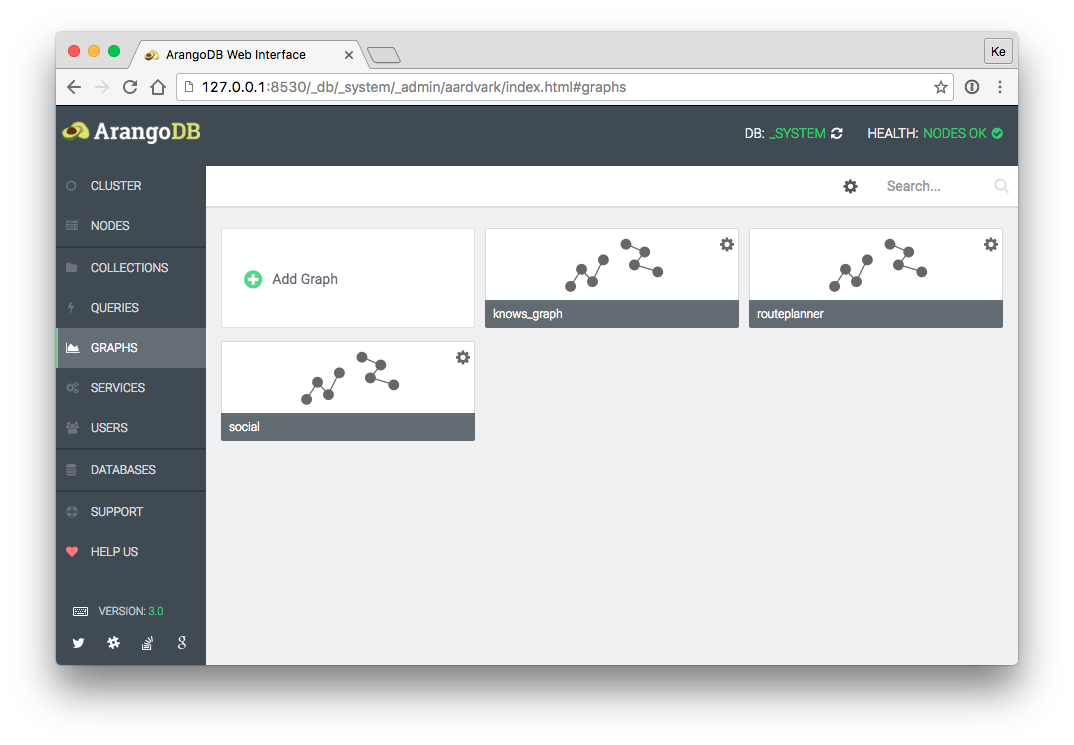
You can access the web interface of ArangoDB at http://localhost:8529 once the container is running.
Installing ArangoJS
To interact with ArangoDB in your Node.js or NestJS project, you need to install the official ArangoDB driver, arangojs.
npm install arangojs
The latest version of the library (at the time of writing) is 8.6.0.
Example: Setting Up ArangoDB with NestJS
Now let’s walk through setting up ArangoDB in a NestJS project. For this example, we will assume you have a basic NestJS project set up. If you don’t, you can create one with the NestJS CLI like so:
npm i -g @nestjs/cli
nest new arango-demo
1. Install Dependencies
First, let’s install the arangojs library in our NestJS project:
npm install arangojs
2. Create a Service to Connect to ArangoDB
In your NestJS project, create a service that will handle the connection to ArangoDB.
Create arango.service.ts in the src folder:
import { Injectable, OnModuleInit } from '@nestjs/common';
import { Database, aql } from 'arangojs';
@Injectable()

export class ArangoService implements OnModuleInit {
  private db: Database;
  async onModuleInit() {

    // Initialize the ArangoDB connection
    this.db = new Database({
      url: 'http://localhost:8529',
auth: { username: 'root', password: 'mysecretpassword' },
    });
  }
  // Example method to fetch all documents from a collection

  async getAllDocuments() {
    const collection = this.db.collection('myCollection');
    const cursor = await collection.all();
    return cursor.all();
  }
}
3. Create a Controller
Now, let’s create a controller that listens for HTTP requests and accesses the database.
arango.controller.ts
import { Controller, Get } from '@nestjs/common';
import { ArangoService } from './arango.service';
@Controller('arango')

export class ArangoController {
  constructor(private readonly arangoService: ArangoService) {}
  @Get('documents')

  async getDocuments() {
    return this.arangoService.getAllDocuments();
  }
}
4. Register the Service and Controller
Finally, register your service and controller in app.module.ts as follows:
import { Module } from '@nestjs/common';
import { ArangoService } from './arango.service';
import { ArangoController } from './arango.controller';
@Module({

imports: [],
controllers: [ArangoController],
providers: [ArangoService],
})
export class AppModule {}
5. Run Your NestJS Application
Finally, run your NestJS application:
npm run start
You can now access the endpoint http://localhost:3000/arango/documents to fetch all documents from the myCollection collection in ArangoDB.
Conclusion
ArangoDB is a versatile, high-performance database that can be an excellent choice for your next project, especially when you need a multi-model database. It provides developers with a powerful tool for handling diverse data models within a single application and supports easy integration into Node.js and NestJS projects. Its scalability and integration with modern frameworks make it a solid option for any backend application with support for ACID transactions.